Grow Your Collection for Free: How to Propagate Houseplants at Home
Houseplants are not cheap. A decent-sized monstera from a garden centre can set you back £25 or more, a mature fiddle-leaf fig might cost £60, and if you start eyeing up the rarer stuff — variegated hoyas, alocasias, uncommon peperomias — prices climb quickly into the hundreds. Yet the people with the most spectacular indoor collections are rarely the ones spending the most money. They are propagating. Turning one plant into two, two into four, building something impressive from almost nothing.
Propagation is simply the process of creating new plants from an existing one. It sounds technical, but most of the methods involved are genuinely straightforward, and many of the tools you need are already in your kitchen. This guide covers everything you need to know to propagate the most common houseplants successfully, with a focus on what actually works in the UK’s climate and light conditions.
Why Propagate?
The obvious answer is cost. But there are other good reasons too. Propagating lets you share plants with friends and family — a rooted cutting of something interesting makes a far more personal gift than anything from a shop. It is also a useful form of insurance; if you have a plant that is struggling or beginning to decline, taking cuttings early gives you a backup. And honestly, there is something genuinely satisfying about watching a single leaf or stem develop its own root system. Once you start, it becomes habit-forming.
It is also worth noting that the UK houseplant market has grown substantially over the last decade. According to the Horticultural Trades Association, sales of houseplants in the UK have increased year on year, with millions of units sold through supermarkets, garden centres, and online retailers every year. More people are keeping plants, and more people are learning to care for them properly — propagation is a natural next step.
The Methods: An Overview
There is no single method of propagation that suits every plant. The technique you use depends on the species, the time of year, and what you have available. Here are the main approaches.
Stem Cuttings
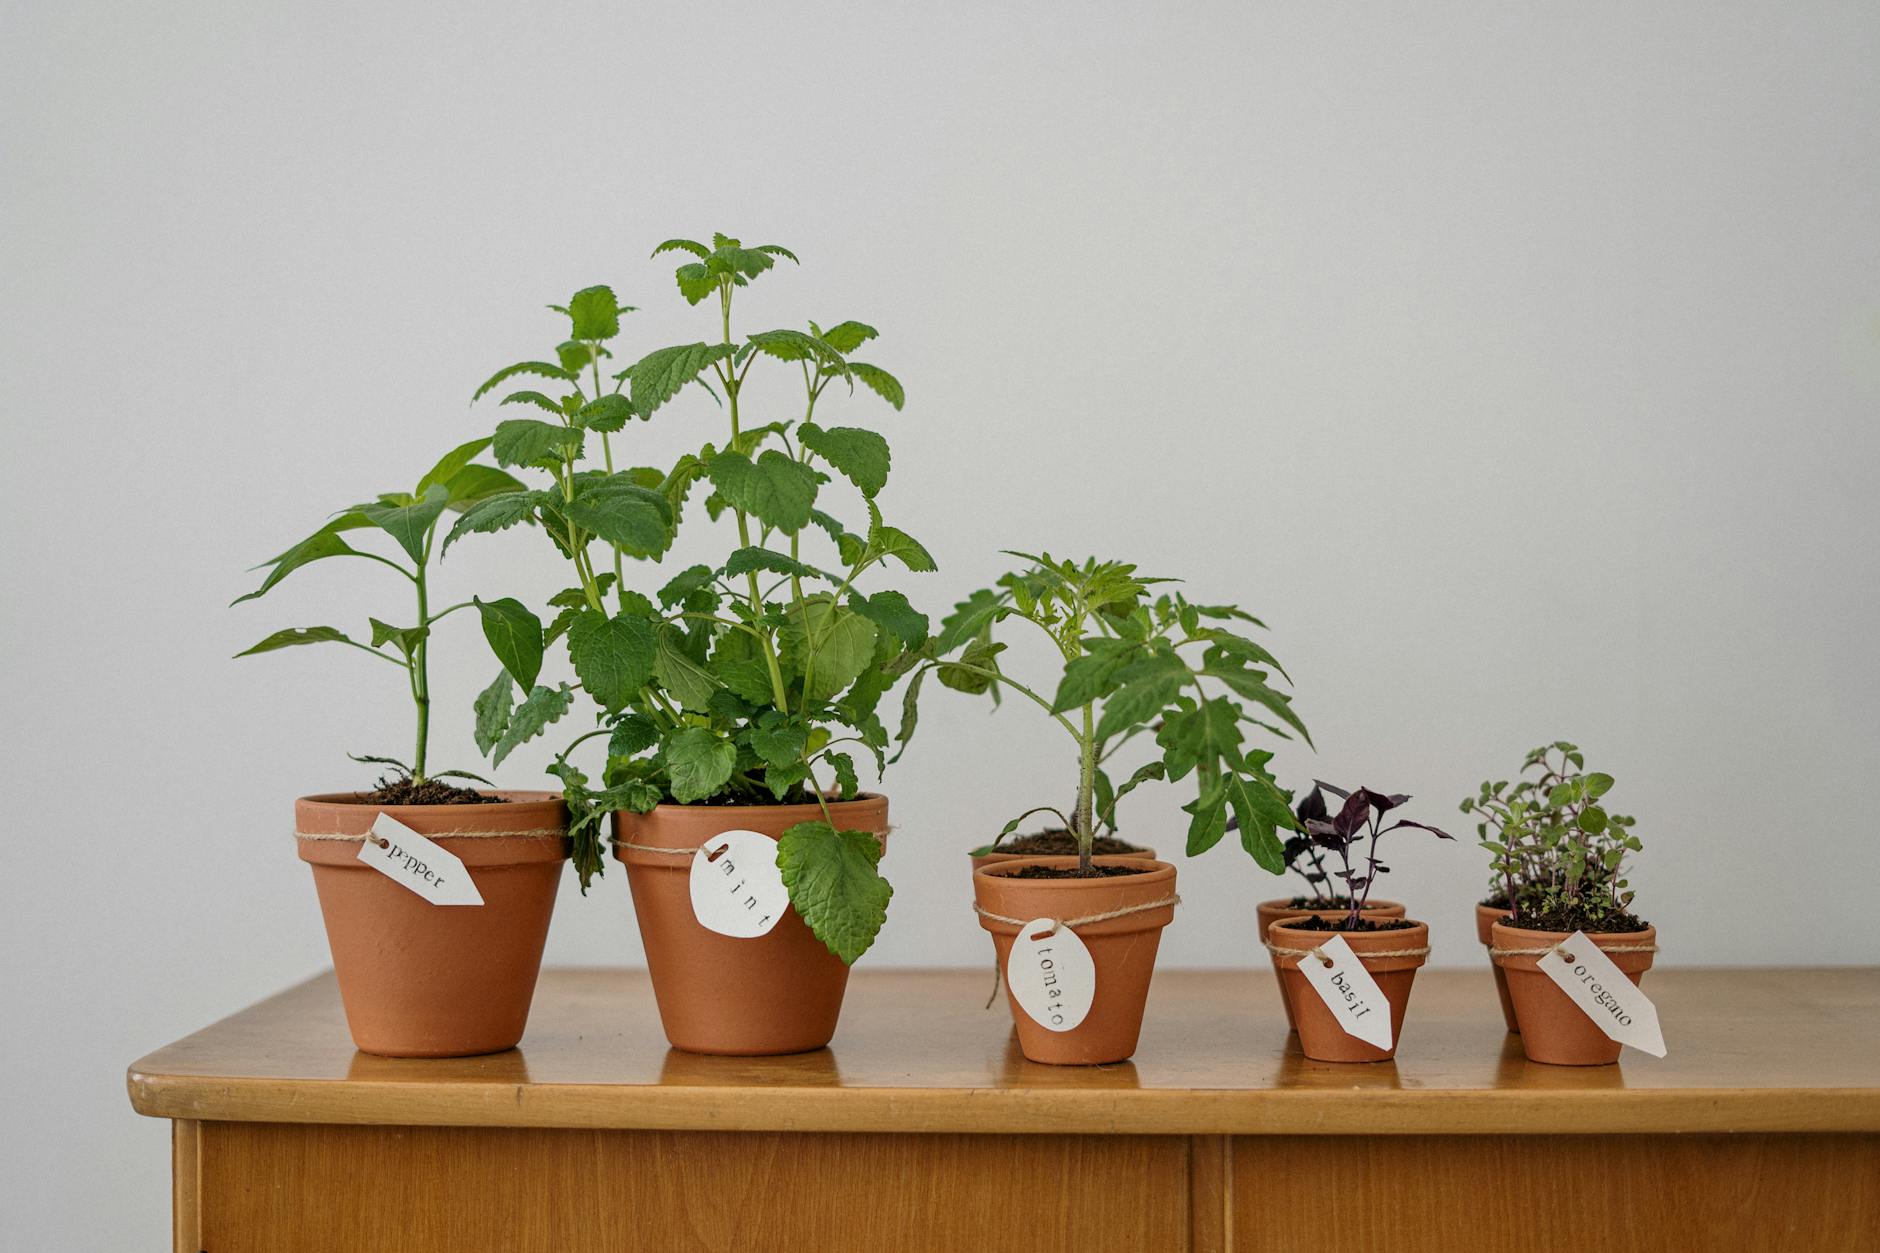
This is the most widely used method and works for a huge range of popular houseplants including pothos, tradescantia, philodendron, ficus, basil, and many others. You take a section of stem — typically 10 to 15 centimetres long — cut just below a node (the small bump or joint where leaves emerge), remove the lower leaves, and then either place the cutting in water or plant it directly into a suitable growing medium.
Water propagation has become especially popular because it is simple and satisfying to watch. Place your cutting in a clean glass or jar — a jam jar works perfectly — filled with room-temperature water, making sure no leaves are submerged. Position it somewhere with bright, indirect light. A windowsill works well, though avoid south-facing windows in midsummer where direct sun can overheat the water and encourage algae. Change the water every few days to keep it fresh and oxygenated.
Most cuttings will show roots within two to six weeks depending on the species and the season. Spring and early summer are the best times to propagate, as the longer days and warmer temperatures encourage faster root development. In winter, the process slows considerably — not impossible, but you will need to be more patient.
Once roots are a centimetre or two long, pot the cutting into a light, well-draining compost. In the UK, something like Westland Multipurpose Compost mixed with perlite in roughly a 70:30 ratio works well for most tropical houseplants. Perlite is widely available from garden centres and online — a 10-litre bag typically costs around £6 to £8 and goes a long way.
Leaf Cuttings
Some plants can be propagated from individual leaves rather than stems, which is genuinely remarkable when you think about it. Succulents like echeveria and sedum are classic examples — simply remove a healthy leaf with a gentle twist so it comes away cleanly at the base, let it callous over on a dry surface for a day or two, then lay it on top of lightly moistened cactus compost. New rosettes will eventually sprout from the base of the leaf.
Snake plants (Sansevieria, now reclassified as Dracaena trifasciata) can also be propagated from leaf sections. Cut a healthy leaf into segments of around five to eight centimetres, allow the cut ends to dry for 24 hours, then insert them base-down into compost. This method is reliable but slow — expect to wait several months before you see meaningful growth.
Begonias offer another approach: a single leaf placed flat on moist compost and pinned down, or cut into sections each containing a main vein, can produce multiple new plants. This feels almost like magic the first time you try it.
Division
Division involves splitting a single plant into two or more separate plants, each with its own root system. It is best suited to plants that naturally grow in clumps, such as peace lilies, spider plants, Boston ferns, and many grasses.
The process is straightforward. Remove the parent plant from its pot, shake away as much compost as possible, and gently tease the root ball apart with your fingers. In some cases — particularly with peace lilies — the roots will be dense and tightly packed, and you may need to use a clean, sharp knife to separate them. Each division needs a reasonable portion of healthy roots to survive, so do not split things too finely.
Repot each division into fresh compost, water thoroughly, and keep in a slightly shadier spot than usual for a week or two while the plant recovers. Spring is the ideal time to divide houseplants, typically coinciding with repotting season.
Offsets and Plantlets
Some plants do most of the propagation work for you by producing offsets or plantlets — miniature copies of themselves that can be separated and grown on independently.
Spider plants are the classic UK example. Those long arching stems produce dozens of little plantlets that dangle in the air until you do something with them. You can either pin them into a small pot of compost while still attached to the parent (they will root within a few weeks), or snip them off once they have developed small aerial roots and pot them up directly. Either approach works.
Aloe vera produces offsets, sometimes called pups, around the base of the main plant. Once these are a few centimetres tall, they can be carefully separated from the parent — you may need a clean knife if they are firmly attached — and potted into cactus compost.
Bromeliads are interesting in that the main plant flowers once and then dies, but not before producing several offsets around its base. These pups are your next generation of plants. Allow them to reach roughly a third of the size of the parent before separating.
Getting the Conditions Right
Propagation in the UK comes with a particular challenge: our climate is not naturally suited to the tropical plants most of us grow indoors. Winters are dark, central heating dries out the air, and even in summer, light levels in many UK homes fall well short of what plants would receive in their native environments.
Light
This is arguably the most important factor. Cuttings and young plants need consistent, bright indirect light to produce roots and develop healthily. A north-facing windowsill is too dark for most propagation. East or west-facing windows are generally better, giving a few hours of gentle direct light. South-facing windows are excellent in autumn and winter but can be harsh in summer — a sheer curtain helps diffuse the light.
If your home is genuinely dark, a grow light is worth considering. LED grow lights have become much more affordable in recent years; a decent clip-on or desktop model costs anywhere from £20 to £50 and can make a significant difference in winter. Run them for 12 to 14 hours a day on a timer, positioned 20 to 30 centimetres above the cuttings.
Humidity
Cuttings without roots cannot absorb water from the soil, so keeping humidity high reduces moisture loss through the leaves and gives them a better chance of survival. A simple way to do this is to place a clear plastic bag over the cutting or create a makeshift propagation chamber using a lidded clear plastic box. You can buy proper propagator trays with lids from most garden centres and from retailers like Wilko, B&Q, or Amazon — a basic model costs around £5 to £15.
Ventilate your propagator for a few minutes each day to prevent mould build-up, and remove it entirely once roots are established.
Temperature
Most tropical houseplants root best at temperatures between 18°C and 24°C. This is not a problem in summer, but in winter, unheated rooms or draughty windowsills can slow rooting dramatically or cause cuttings to rot before they have a chance. A heated propagator — essentially a tray with a built-in heat mat — solves this problem and is well worth the investment if you plan to propagate regularly. Expect to spend around £25 to £50 for a reliable heated model.
Alternatively, place your propagation setup somewhere consistently warm: the top of a boiler cupboard, near (but not directly above) a radiator, or in a kitchen that stays reasonably warm. Avoid anywhere with dramatic temperature fluctuations.
Rooting Hormone: Do You Need It?
Rooting hormone is a powder or gel that encourages stem cuttings to develop roots more quickly and reliably. It contains auxins — naturally occurring plant hormones that stimulate root growth. In the UK, products like Doff Hormone Rooting Powder and Westland Rootgrow are widely available, typically costing £3 to £7.
For easy-to-root plants like pothos, tradescantia, or spider plant, rooting hormone makes little practical difference. For woodier or more reluctant species — ficus, hoyas, some begonias — it can genuinely improve your success rate. Apply it by dipping the cut end of your stem into water, then into the powder, tapping off the excess before inserting into compost. Alternatively, gel formulations can be applied directly.
It is not essential, but it is a cheap and useful addition to your propagation kit.
Common Problems and How to Avoid Them
Rotting Cuttings
This is the most frustrating outcome, particularly with water propagation. It is usually caused by one of three things: leaves left submerged in the water, water that has not been changed frequently
enough, or a cutting taken from unhealthy material. Remove any submerged foliage, refresh the water every few days, and always use a clean container. If you are propagating in compost, make sure the mix is lightly moist rather than sodden, as overly wet conditions quickly encourage decay.
Cuttings That Fail to Root
Patience is important, as some plants root within a week while others may take a month or more. If nothing seems to be happening, check that the cutting includes at least one node, as this is where roots usually emerge. Keep the cutting somewhere bright but out of direct sunlight, and avoid placing it near radiators or draughty windows. Consistent warmth often makes a noticeable difference.
Wilting or Drooping Leaves
Fresh cuttings can lose moisture faster than they are able to replace it. To reduce stress, trim off any excess large leaves and keep humidity slightly higher around the plant. A clear plastic bag loosely placed over the pot can help, provided it does not trap too much moisture or touch the foliage for long periods. Remove it daily for ventilation.
When to Pot Up New Plants
Once your cutting has developed a healthy cluster of roots a few centimetres long, it is ready to move into its own pot. Choose a small container rather than a very large one, as too much compost around a tiny root system can stay wet for too long. Use a free-draining houseplant compost and water lightly after potting on.
For the first few weeks, treat the new plant gently. Keep it in bright, indirect light and avoid feeding until you see signs of fresh growth. That new leaf or stem is usually the best sign that your propagated plant has settled in successfully.
Build Your Indoor Jungle One Cutting at a Time
Learning how to propagate houseplants at home is one of the easiest and most satisfying ways to expand your collection without spending much at all. With a few simple tools, a little patience, and the right conditions, you can turn one healthy plant into several. Whether you are rooting a pothos in a jar on the windowsill or dividing a mature peace lily, propagation lets you grow your indoor garden in a practical, affordable, and rewarding way.