How to Repot a Houseplant Without Killing It: A Step-by-Step Guide
Every houseplant owner has been there. You notice your beloved monstera is looking a little sorry for itself despite regular watering and good light. The leaves are smaller than usual, the compost dries out within a day of watering, and there are roots sneaking out of the drainage holes like they are trying to escape. The plant is not dying — it is simply outgrowing its home. Repotting is the answer, but for many people it feels like a daunting task. Get it wrong and you risk damaging roots, introducing disease, or sending a perfectly healthy plant into a prolonged sulk.
The good news is that repotting is genuinely straightforward once you understand what you are doing and why. This guide walks you through every stage, from recognising when a plant needs a new pot to caring for it in the weeks after the move. Follow these steps and your plant will not only survive — it will thrive.
How to Tell When Your Plant Needs Repotting
Plants do not need repotting on a rigid schedule. Some fast growers like pothos or tradescantia may need a new pot every year. Others, like cacti or snake plants, are perfectly content staying in the same container for three to five years or longer. Rather than going by the calendar, watch for these signs that a plant has genuinely outgrown its current home.
- Roots emerging from drainage holes. A few roots at the base is normal, but a dense tangle of roots pushing out of the bottom means the pot is thoroughly full.
- Roots circling the surface of the compost. If you can see roots winding around the top of the soil, the plant has run out of room below.
- Water running straight through. When the root mass is so dense that water immediately pours out of the bottom without being absorbed, the plant needs more space.
- Compost drying out unusually quickly. A large root system in a small volume of compost will drink everything available very fast.
- Slowed or stunted growth during the growing season. If your plant barely budges from spring through summer despite good conditions, it may be root-bound.
- The plant becomes top-heavy and unstable. When a plant is constantly tipping over, the root-to-pot ratio is off.
It is worth noting that some plants actually enjoy being slightly root-bound. Peace lilies, for instance, tend to flower more reliably when their roots are a little snug. Spider plants and hoyas also tolerate — and sometimes prefer — tighter conditions. If in doubt, check the specific needs of your plant before automatically sizing up.
When Is the Best Time to Repot?
Spring is almost always the ideal window, typically from late March through to May in the UK. As day length increases and temperatures begin to climb, most houseplants come out of their winter dormancy and start actively growing. Repotting at this point gives roots the best chance to establish quickly in fresh compost while the plant has energy and momentum on its side.
Avoid repotting in winter if you can help it. The shorter days and lower light levels mean plants are resting, and disturbing the roots when growth is minimal can cause extended stress. There are exceptions — if a plant is severely root-bound and visibly suffering, it is better to repot in January than to leave it struggling — but as a general rule, late winter repotting should be a last resort.
Summer repotting is possible but carries slightly more risk for plants positioned in direct sun, as heat stress combined with root disturbance can be hard to manage. If you do repot in summer, move the plant out of direct sunlight for a couple of weeks afterwards to help it recover.
What You Will Need
Getting your equipment together before you start makes the whole process considerably less chaotic. Here is what to gather:
- A new pot. Choose one that is roughly 2–5 cm larger in diameter than the current pot. Going too large — more than 5–6 cm bigger — is a common mistake. Excess compost holds moisture that the roots cannot yet absorb, which leads to soggy conditions and root rot.
- Fresh potting compost. Use a mix suited to your plant. A standard peat-free multipurpose compost (widely available at B&Q, Dobbies, or your local garden centre for around £5–£10 for a 40-litre bag) works for most tropical houseplants. Cacti and succulents need a gritty, free-draining mix. Orchids require a specialist bark-based medium. Mixing in a small amount of perlite — available in 10-litre bags for around £6–£8 — improves drainage for most tropical species.
- A trowel or large spoon. For scooping and packing compost.
- Old newspaper or a plastic sheet. Repotting is messy. Protect your floor or table.
- Gloves. Particularly important if you are working with spiky plants like cacti or if you have sensitive skin.
- A watering can. For settling the compost after repotting.
- Optional: drainage crocks. Small pieces of broken terracotta pot or a layer of gravel placed over drainage holes can help prevent compost from washing out, though this is not strictly necessary if your compost is free-draining.
Choosing the Right New Pot
The material of your pot matters more than many people realise. Terracotta pots are breathable, which allows air to reach the roots and excess moisture to evaporate through the sides. This makes them excellent for plants that hate sitting in wet compost — think cacti, succulents, and Mediterranean herbs. The trade-off is that compost dries out faster, so you will need to water more frequently. Terracotta pots of a decent size typically cost between £3 and £15 at garden centres or on Amazon.
Plastic and glazed ceramic pots retain moisture for longer, which suits thirsty tropical plants like ferns, calatheas, and peace lilies. They are also lighter and less likely to crack in cold weather if you occasionally move plants outside during summer.
Whatever pot you choose, drainage holes are non-negotiable for almost all houseplants. A pot without drainage turns into a reservoir of stagnant water that suffocates roots. If you have fallen for a beautiful pot that lacks drainage holes, use it as a decorative outer cover (called a cachepot) and keep your plant in a functional inner pot with drainage.
Step-by-Step: How to Repot Your Plant
Step 1: Water the Plant Beforehand
Give your plant a good drink 24 to 48 hours before repotting. Moist compost holds together around the roots far better than dry compost, which tends to crumble and fall away, leaving roots exposed and vulnerable. Avoid repotting a plant that is completely waterlogged, though — soggy compost makes it harder to handle the root ball cleanly.
Step 2: Prepare the New Pot
Place a small piece of mesh, a crock, or even a coffee filter over the drainage holes to prevent compost from washing out when you water. Add a layer of fresh compost to the bottom of the pot — roughly enough so that when you place the plant inside, the top of the root ball will sit about 2–3 cm below the rim of the pot. This gap is important; it gives you space to water without liquid spilling straight over the edge.
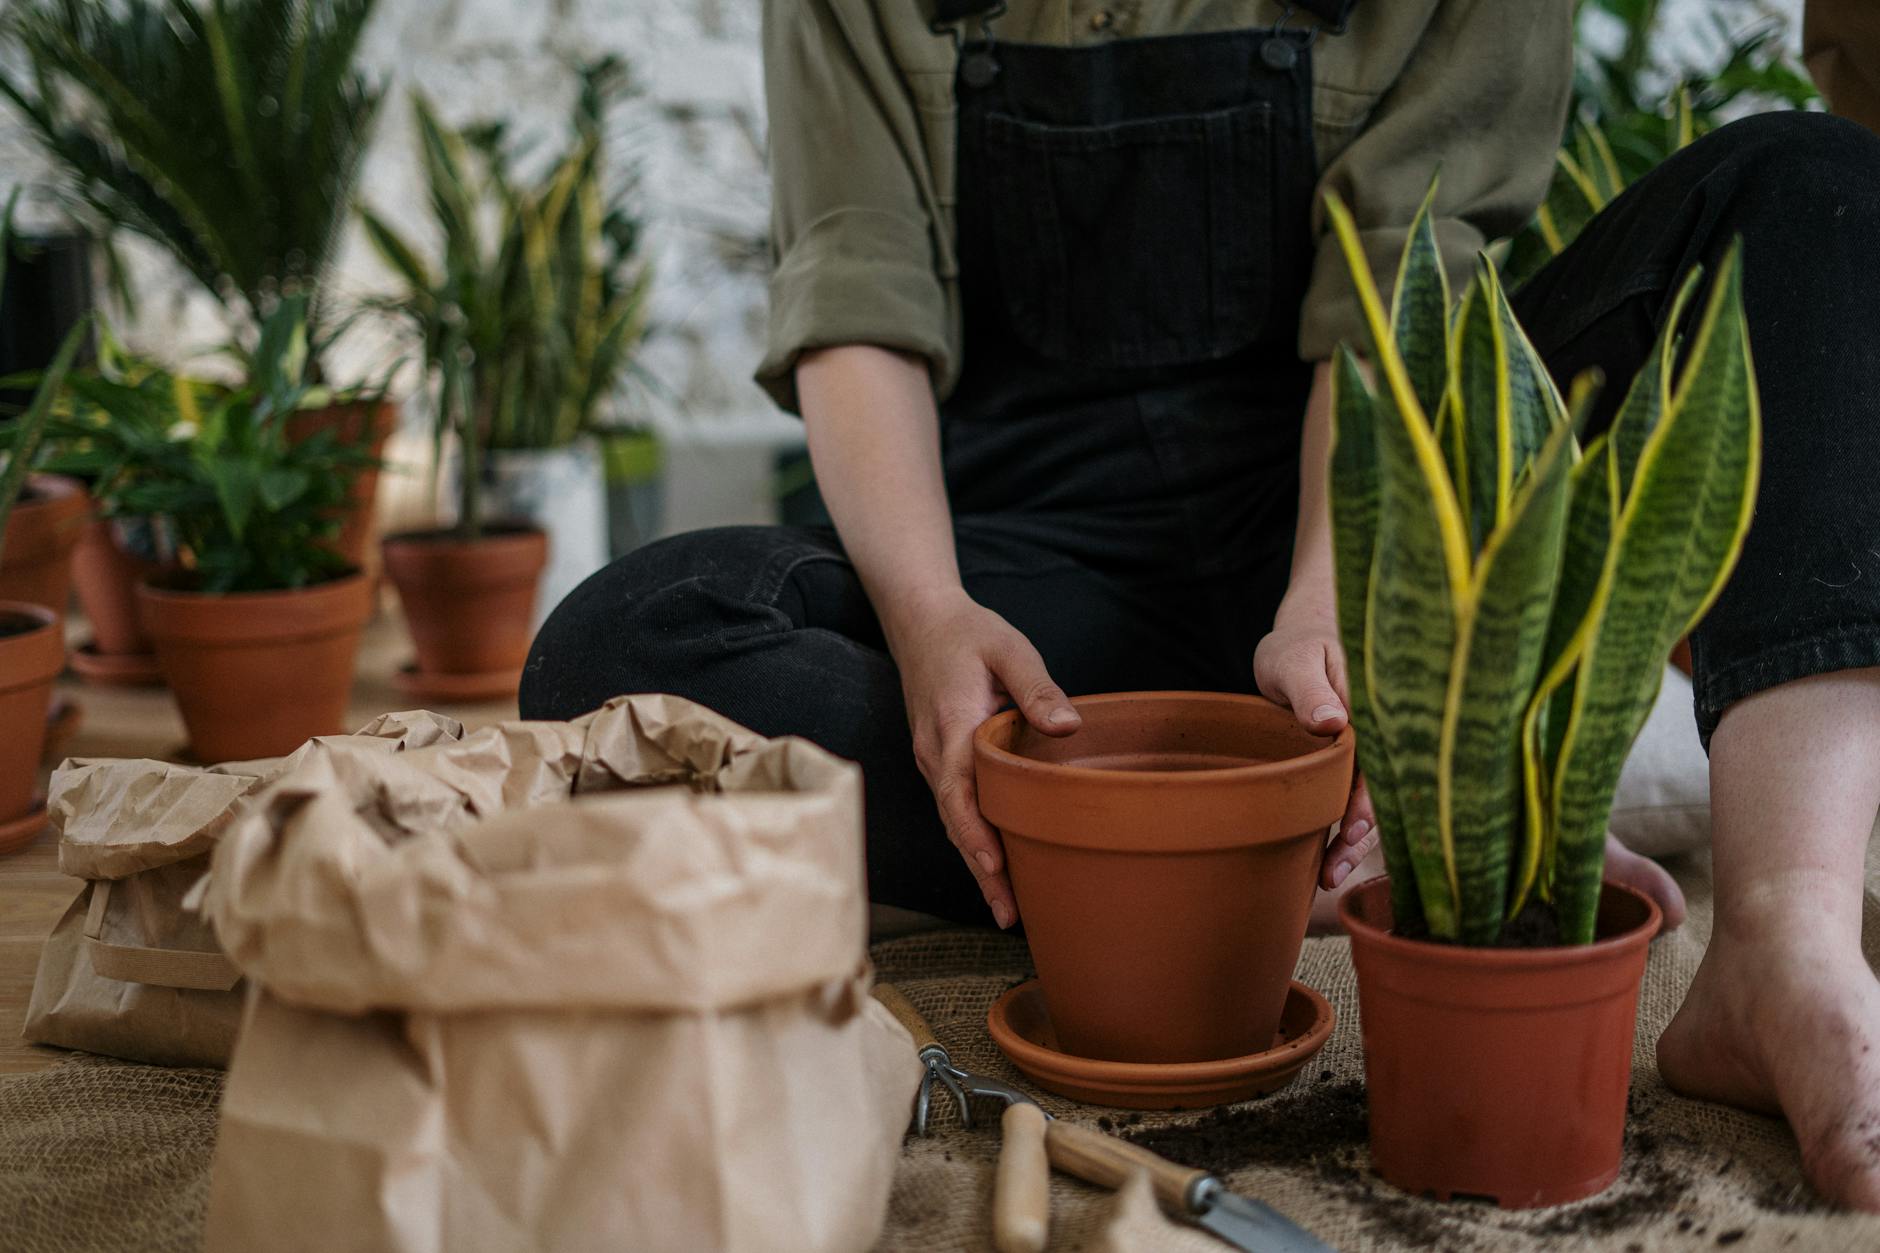
Step 3: Remove the Plant from Its Current Pot
Tip the pot on its side and gently squeeze the sides if it is plastic, or run a blunt knife or trowel around the inner edge if it is terracotta. Support the base of the plant with one hand and ease the pot away. For large or heavy plants, it helps to have a second person hold the pot steady while you pull the plant free.
If the plant is stuck — which happens frequently with root-bound specimens — do not yank it. Try tapping the base of the pot firmly on a hard surface, or carefully use a knife to loosen the roots from the sides. Patience here prevents breakage.
Step 4: Inspect and Loosen the Roots
Once the plant is out, take a moment to look at the root ball. Healthy roots are typically white or pale cream and firm to the touch. Brown, mushy, or foul-smelling roots indicate rot, and these should be trimmed away cleanly with sterile scissors or secateurs before repotting.
Gently loosen the outer roots with your fingers, teasing them away from the tight ball they have formed. This encourages them to spread out into the new compost rather than continuing to circle in the same cramped pattern. If the root ball is very dense and compacted, you can remove some of the old compost from around the edges, but there is no need to strip all the old growing medium away.
Step 5: Position the Plant in the New Pot
Lower the plant into the prepared pot and check the height. The top of the root ball should sit comfortably below the rim, at the same depth it was growing before. Burying the stem deeper than it was previously can cause rot in many species — this is particularly true for succulents, snake plants, and most tropical foliage plants.
Hold the plant upright in the centre of the pot and begin filling in around the sides with fresh compost, firming it gently as you go. You want good contact between the roots and the new medium, but avoid compacting the compost too aggressively — roots need air as well as moisture, and overly compressed compost restricts both drainage and airflow.
Step 6: Water Thoroughly
Once the plant is positioned and the compost is filled in, water generously until water flows freely from the drainage holes. This settles the compost around the roots, eliminates air pockets, and gives the plant immediate access to moisture after the stress of the move. Empty the saucer or outer pot after 30 minutes to prevent the roots from sitting in standing water.
Step 7: Find a Good Recovery Spot
Move the plant to a position with bright but indirect light, even if it normally tolerates direct sun. Avoid placing it in draughts, near radiators, or in especially cold spots. For the first two to four weeks, the plant is focusing its energy on re-establishing its roots in the new compost — it does not need the added pressure of intense light or temperature extremes during this period.
Aftercare: The Weeks Following Repotting
Do not
feed the plant for at least four to six weeks after repotting. The fresh compost already contains nutrients, and the roots need time to settle before they can effectively absorb fertiliser. Feeding too soon can cause root burn and stress an already vulnerable plant.
Water sparingly during the recovery period. The plant’s root system has been disturbed and cannot yet take up water as efficiently as before. Check the top few centimetres of compost regularly — water only when it feels dry to the touch. Overwatering at this stage is one of the most common causes of post-repotting decline.
It’s normal for plants to look a bit sorry for themselves immediately after repotting. You may notice some leaf drop, wilting, or yellowing, particularly on older leaves. This is the plant’s way of conserving energy whilst it focuses on root development. As long as new growth appears healthy and the plant gradually perks up over the following weeks, there’s no cause for concern.
Resist the urge to check whether the plant has rooted by tugging at it or lifting it from the pot. This disrupts the delicate new roots trying to establish themselves. After about four weeks, you can gently test for resistance when you give the plant a very slight wiggle — if it feels anchored, the roots have taken hold.
Final Thoughts
Repotting doesn’t have to be a nerve-wracking experience. With the right timing, a properly sized pot, and a gentle hand, most houseplants will transition smoothly into their new homes and reward you with vigorous growth. The key is to work methodically, avoid common pitfalls like overpotting or overwatering, and give your plant the time and space it needs to recover. Before long, you’ll have a healthier, happier plant that’s ready to thrive for years to come.