You killed another one, didn’t you? Maybe it was a drooping pothos that slowly turned yellow, or a fiddle leaf fig that dropped every single leaf overnight like it was staging a protest. Before you swear off houseplants forever, here’s the truth nobody tells beginners: most plant deaths have nothing to do with light or watering schedules. They start with the soil. Get the soil right, and suddenly everything else gets easier — your monstera care routine clicks into place, your snake plant stops rotting, and your ZZ plant actually puts out new growth instead of just sitting there looking suspicious.
This guide is going to walk you through everything you need to know about indoor plant soil — what it actually is, why it matters more than you think, how to choose it, and how to mix your own when the bag from the hardware store just isn’t cutting it. No fluff, no vague advice. Just real, practical guidance you can use this weekend.
What “Soil” Really Means for Indoor Plants
First, a quick reality check: the dark stuff in your garden beds is not what you want in your pots. Outdoor soil compacts, gets waterlogged, and can introduce pests and disease into your home. What we call “potting mix” or “potting soil” for indoor plants is actually a blend of different materials engineered to solve a specific problem — how do you give plant roots moisture, nutrients, oxygen, and stability all at once, inside a container?
Roots need air just as much as they need water. When soil gets too dense or stays too wet, roots suffocate and begin to rot. This is the single most common reason houseplants die. The goal of a good potting mix is to hold just enough moisture while letting excess drain quickly and keeping pockets of air around the roots. Every ingredient in a potting mix exists for one of those three jobs: water retention, drainage, or aeration.
The Building Blocks: What Goes Into a Potting Mix
Walk into any garden center and you’ll find shelves of bags with intimidating ingredient lists. Here’s a plain-English breakdown of the most common components you’ll encounter.
Peat Moss and Coco Coir
These are the base of most commercial potting mixes. Peat moss is harvested from ancient bogs and is slightly acidic, which many tropical houseplants actually love. Coco coir is the more sustainable alternative — it’s made from coconut husks and behaves similarly to peat moss but is renewable and has a more neutral pH. Both materials hold moisture well and give roots something soft to grow through. If you’re buying a pre-made mix, it will almost certainly contain one of these two as its primary ingredient.
Perlite
Those little white balls that look like tiny foam beads? That’s perlite. It’s actually volcanic glass that’s been heated until it pops, creating a lightweight material that never compacts and never holds water. Its entire job is drainage and aeration. If you’re doing any kind of monstera care or caring for other tropical plants that hate wet feet, perlite is your best friend. Most standard potting mixes already contain some, but for many plants, adding more is genuinely worthwhile.
Bark and Wood Chips
Orchid bark and pine bark chips create large air pockets in a mix, improve drainage, and break down slowly over time, releasing a small amount of nutrients. They’re essential in mixes for epiphytes — plants that in nature grow on trees rather than in ground soil, like orchids and certain monsteras. Bark is also commonly added to mixes for fiddle leaf fig trees, which need excellent drainage and airflow around their roots.
Sand
Coarse horticultural sand (not fine beach sand, which actually makes drainage worse) adds weight and improves drainage in mixes for succulents and cacti. If you’re growing a snake plant or ZZ plant, you want a mix that leans drier, and coarse sand helps accomplish that.
Worm Castings and Compost
These are the nutrient contributors. Worm castings in particular are remarkably gentle — they feed plants slowly without the risk of chemical fertilizer burn. Many high-quality potting mixes include worm castings, and adding a small handful to any mix is almost always a good idea. Compost does a similar job but is a bit less predictable in what it contains.
Pumice and LECA
Pumice is similar to perlite but heavier and denser, making it a popular choice for succulent and cactus mixes where you want drainage without the mix being so light it floats. LECA (Lightweight Expanded Clay Aggregate) is a newer option, especially popular in semi-hydroponic setups. It’s reusable, provides excellent aeration, and is becoming a common choice for pothos propagation and growing on, since roots establish well in LECA before being potted into a traditional mix.
Matching Soil to Your Plant: The Practical Part
Different plants have dramatically different preferences. Here’s how to think about soil for some of the most popular houseplants.
Monstera (Monstera Deliciosa and Others)
Monstera care gets a lot easier when you understand that in the wild, monsteras are semi-epiphytic — their roots are used to chunky, loose, fast-draining forest floor material, not dense soil. A good monstera mix is airy and well-draining but still retains some moisture. A reliable starting point: two parts standard potting mix, one part perlite, and one part bark chips. This gives you the moisture retention of the base mix, the drainage of perlite, and the aeration and slow nutrient release of bark. If your monstera’s leaves are yellowing from the bottom up and the soil stays wet for more than a week, that’s a sign your mix is too dense — add more perlite next repotting.
Pothos
Pothos are famously forgiving, which makes them a popular starting point for beginners. They’ll tolerate pretty much any standard potting mix, but they do best in something light and well-draining. For pothos propagation specifically, you don’t need soil at all — cuttings root beautifully in water, LECA, perlite, or sphagnum moss. Once rooted, move them into a lightweight potting mix with added perlite. The main thing to avoid with pothos is heavy, compact soil that stays wet — that’s when you start seeing root rot even on a plant that’s supposed to be indestructible.
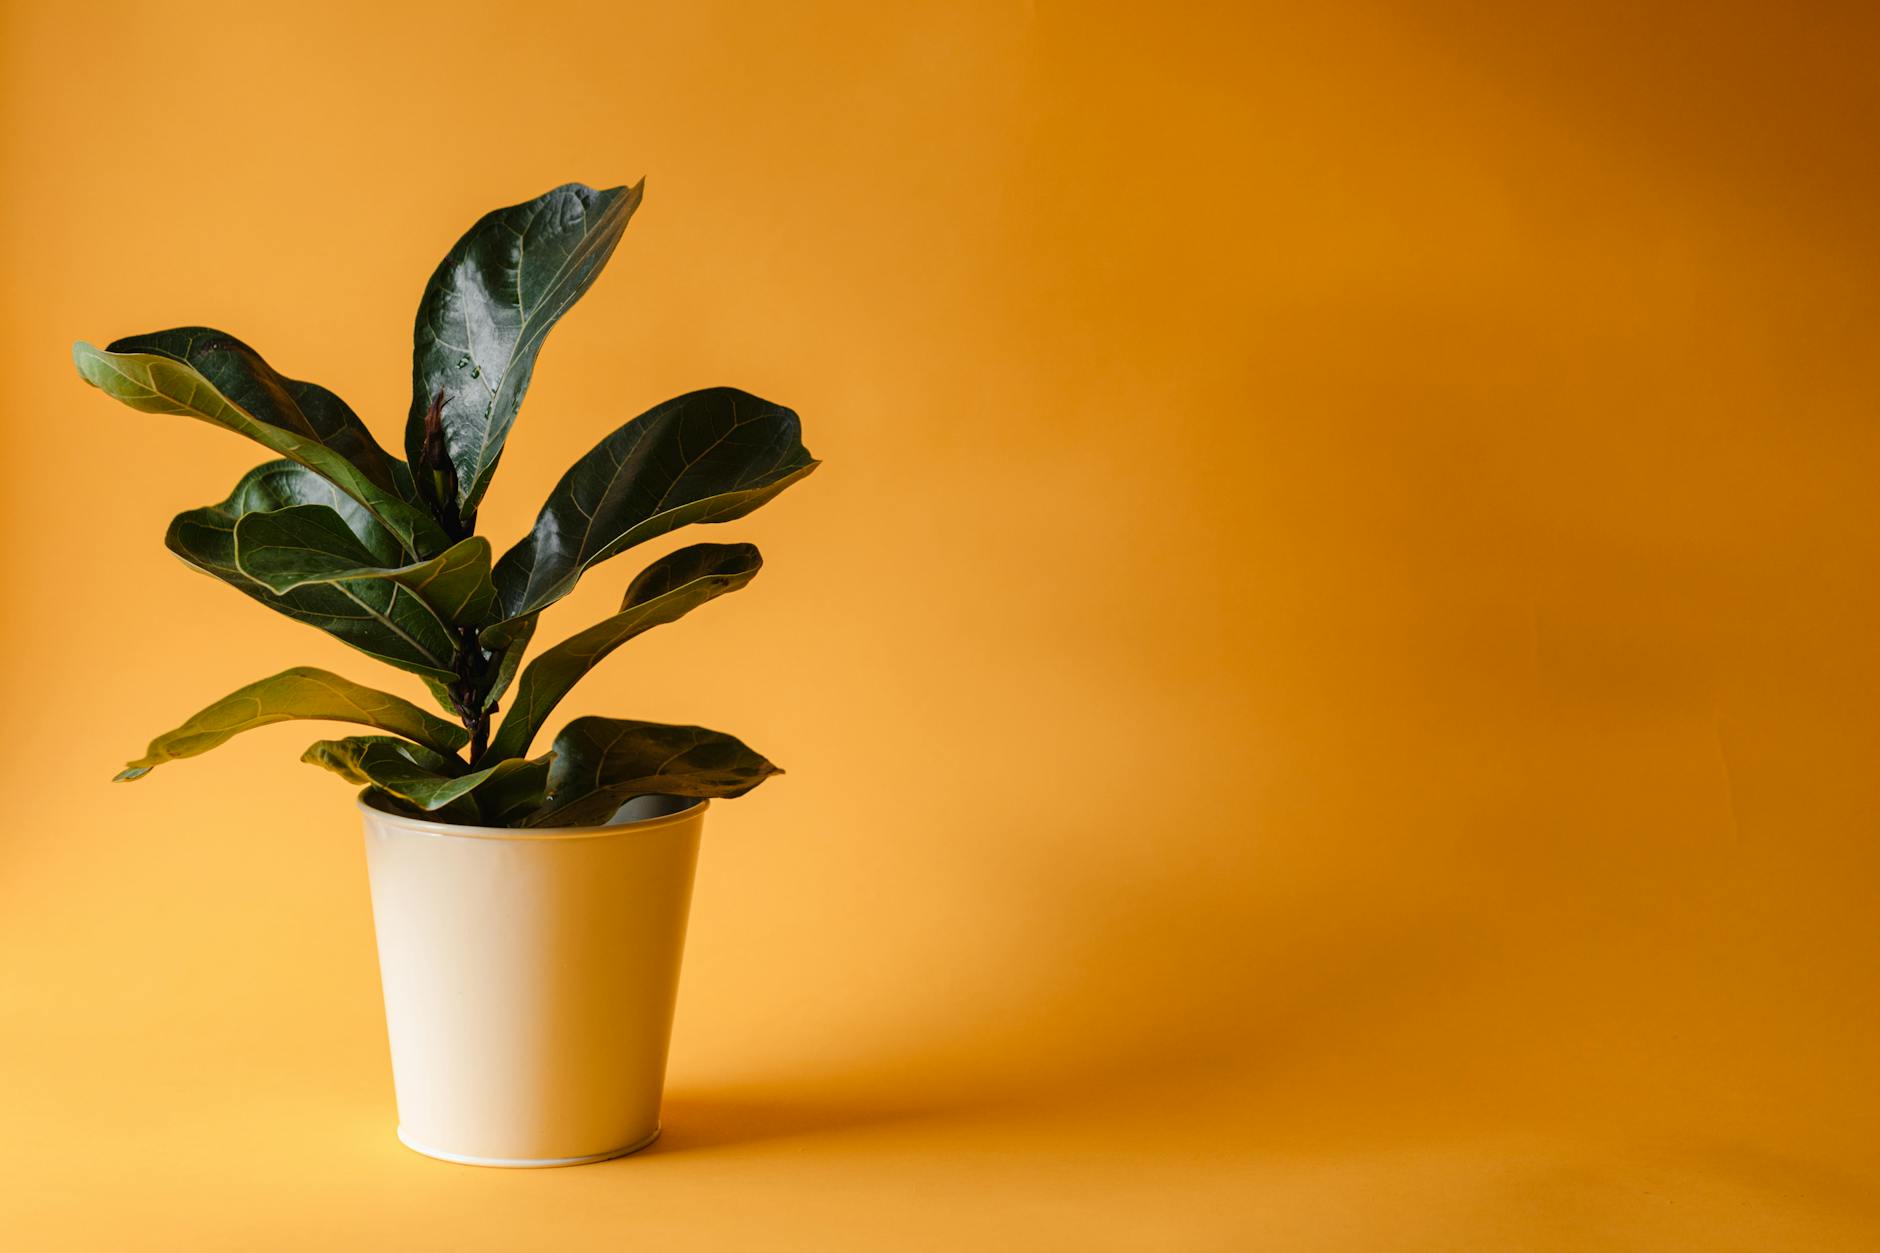
Fiddle Leaf Fig
The fiddle leaf fig has a reputation for being dramatic, and honestly, some of that reputation is deserved. These trees are extremely sensitive to both overwatering and inconsistent conditions, and a lot of that sensitivity comes down to soil. Fiddle leaf figs need a well-draining mix that still holds some moisture — the balance is genuinely tricky. A mix of standard potting soil, perlite, and a small amount of bark works well. The key is to never let a fiddle leaf fig sit in waterlogged soil. Make sure your pot has drainage holes, check that the top inch or two of soil has dried out before watering, and consider slightly terracotta pots that breathe and help the soil dry more evenly.
Snake Plant (Dracaena Trifasciata)
Snake plants are succulents in their behavior even if they’re not technically cacti, and they want soil that reflects that. They need very fast-draining, almost gritty soil. A mix of 50% standard potting mix and 50% coarse sand or perlite works well. Some growers go even further and use a dedicated cactus and succulent mix straight from the bag. The biggest mistake people make with snake plants is using regular potting soil right out of the bag — it holds too much moisture, and a snake plant sitting in damp soil for extended periods will rot from the roots up, often before you notice anything is wrong.
ZZ Plant (Zamioculcas Zamiifolia)
The ZZ plant stores water in its thick rhizomes, which means it can handle drought exceptionally well but is vulnerable to overwatering. Soil for a ZZ plant should prioritize drainage above everything else. A mix similar to what you’d use for snake plants works — standard potting mix cut generously with perlite or coarse sand. The ZZ plant is also slow-growing, so don’t worry if it doesn’t seem to respond dramatically to a soil change. Give it time. When the soil is right, you’ll eventually start seeing those glossy new stems pushing up from the base.
How to Mix Your Own Potting Soil
Buying a bag of pre-made mix is convenient, but mixing your own gives you control, often saves money in the long run, and lets you tailor the mix exactly to your plants. Here’s a basic all-purpose indoor potting mix recipe that works well as a starting point for most tropical houseplants:
- 3 parts coco coir or peat-based potting mix
- 1 part perlite
- 1 part orchid bark or pine bark fines
- A generous handful of worm castings per pot
This mix drains well, provides good aeration, holds a reasonable amount of moisture, and has a slow-release nutrient source from the worm castings. From here, you can adjust: add more perlite for plants that need faster drainage (snake plant, ZZ plant, succulents), or add more bark for epiphytic plants and monsteras. Remove the bark and use straight coco coir with extra perlite for something like pothos propagation to soil transition.
Signs Your Soil Is the Problem
Sometimes your plant is trying to tell you something, and once you know what to look for, the message is pretty clear.
Yellowing Leaves
Yellowing that starts at the lower leaves and works its way up, especially combined with soil that takes a long time to dry out, usually points to root rot from waterlogged soil. This is one of the most common problems across virtually all houseplants.
Water Running Straight Through
If water pours in and immediately out the drainage hole without seeming to absorb into the soil at all, your mix may have become hydrophobic — basically water-repellent. This sometimes happens with peat-heavy mixes when they dry out too completely. The fix is to water more slowly and thoroughly, or to soak the entire pot in water for 30 minutes to rehydrate the mix. Adding coco coir in future repots helps prevent this, since coco coir rehydrates much more easily than dry peat.
Compacted, Rock-Hard Soil
If the surface of your potting mix has become so hard you could knock on it, it’s time to repot. Compacted soil suffocates roots, makes watering ineffective, and signals that the mix has broken down and lost its structure. This is actually a normal process — all potting mixes degrade over time — and most houseplants benefit from fresh soil every one to two years.
Salt Crust on the Surface
A white or yellowish crust on the top of your soil is mineral buildup from tap water and fertilizer. It’s
not harmful in small amounts, but over time it can raise soil pH, lock out nutrients, and even burn roots near the surface. To address it, scrape off the top layer of crust and flush the soil thoroughly with water, letting it drain completely through the drainage holes two or three times. If the buildup is severe or keeps returning quickly, consider switching to filtered or rainwater and scaling back fertilizer frequency.
Fungus Gnats and Soil Pests
If you notice tiny flies hovering around your plants or crawling across the soil surface, the top layer of your potting mix is likely staying too wet for too long. Fungus gnats lay eggs in moist soil, and their larvae feed on organic matter and fine roots. The most effective fix is to let the top inch or two of soil dry out completely between waterings, which breaks the breeding cycle. You can also top-dress with a thin layer of coarse sand or perlite, which dries out faster than standard potting mix and discourages egg-laying without affecting the soil below.
Conclusion
Getting soil right is one of the most impactful things you can do for your houseplants, and it does not have to be complicated. Start with a quality all-purpose potting mix, adjust it for the specific needs of your plants, repot when the signs tell you it is time, and pay attention to how your soil behaves after watering. Soil is not just a medium that holds roots in place — it is a living, dynamic system that changes over time. Treat it with the same attention you give to light and water, and your plants will reward you for it.